Validate only is a simplified feature to validate the file without real uploading to the Post Office in order to correct all warnings and errors found prior uploading or not to upload the transaction by mistake. Previously, you had to open your xml file and change DispositionFlag to TEST and then do not forget to return it back to PRODUCTION when you are ready. Otherwise, your file may not be uploaded to Post Office.
Follow the below steps to validate a transaction.
...
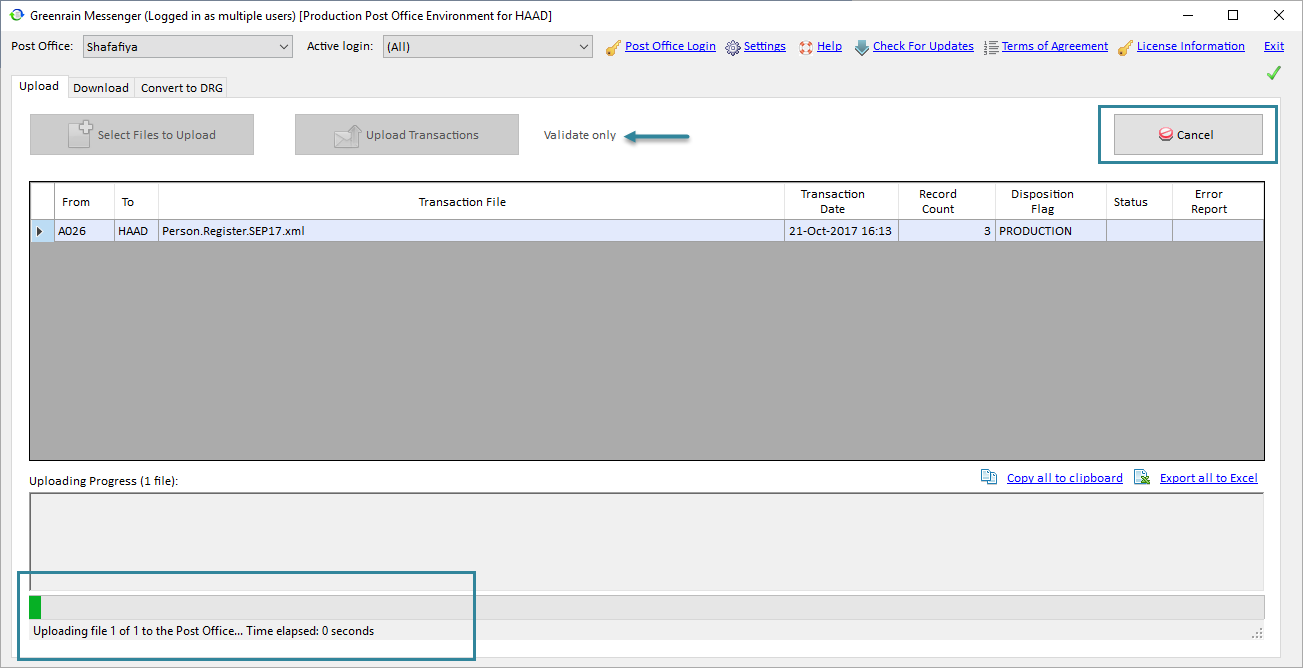
Step 2. Click Validate only.
The file starts validating against the specific Health Authority rules set. Progress bar at the bottom of the tab shows uploading validating progress. Besides, Cancel button appears at the top to let you cancel a transaction uploading validating if it takes a lot of time.
When the process is finished, a dialog appears saying that the file validating is finished either successfully or not. After that a the transaction is discarded.

Step 3. Click OK in that dialog.
...
Status panel below the grid shows Last Uploading Progress with the following details:
- File – the file name (same as in Transactions Summary grid);
- Validation Status – possible values are:
- Successfully validated on the Post Office if Status = Success or Success with warnings;
- Failed to validate on the Post Office if Status = Failed;
- Error Description – contains found warnings or (and) errors count;
- Error Report Name – the full path to the errors report file;
- Error Code returned by the Post Office uploading web service.
All other details are the same as for Upload transactions functionality: you can open Upload Validation Report to review warnings and errors, export data to Excel. etc.